Number 18 Bunker
As many people know, we have issues with some of the bunkers here at Heritage. Whether it is washouts, drainage, or inconsistency of the sand, we are attempting to address each of these problems. We will be focusing our attention mainly on the green side bunkers for now. We will be reconstructing the lower right side bunker on number 18, the practice bunker, the bunker behind number 3 green, the three bunkers in front of number 9 and the two bunkers in front of number 17.
All of our bunkers have drainage in them. All bunkers have a specific type drainage with pea gravel and four-inch perforated pipe. When heavy downpours come along during the Spring and Summer months, the bunkers wash and hold water. When the bunkers wash, the water takes sand and silt down with it, which eventually clogs the drains. While this situation happens 90% of the time, we have only recently found out that roots can interfere with drainage.
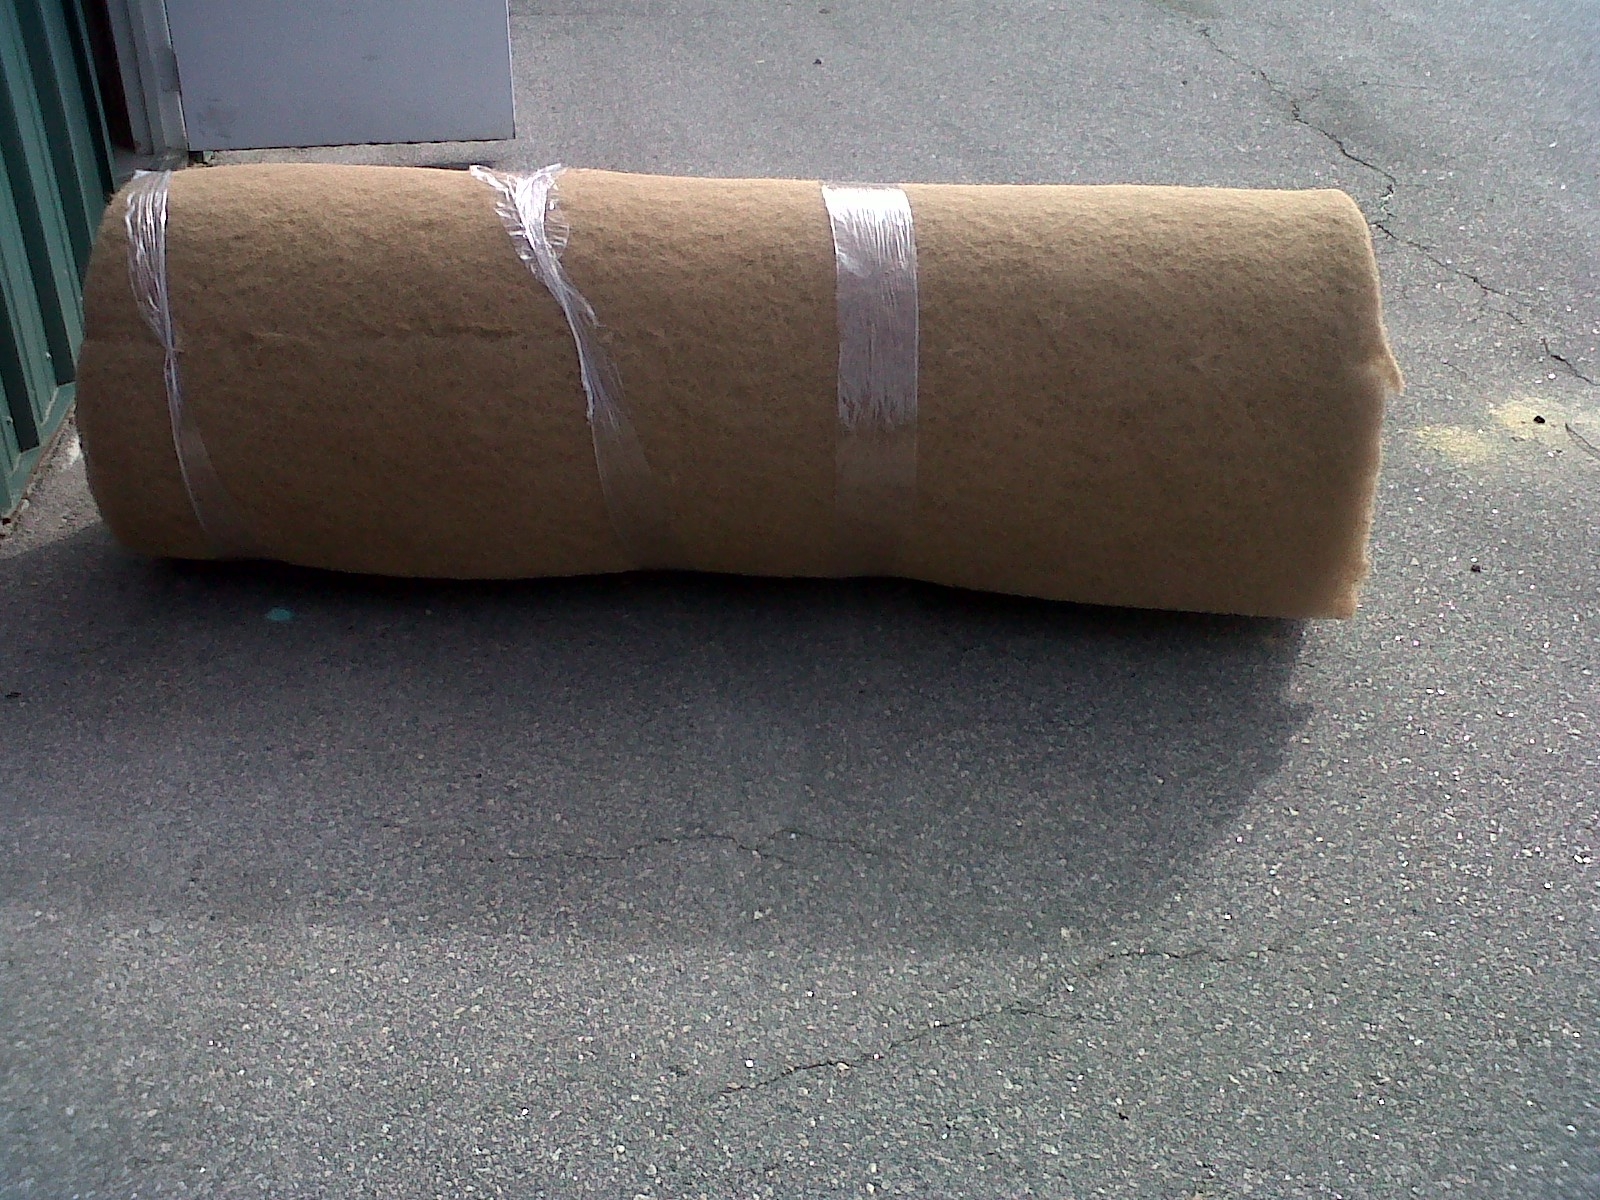
We will be installing a bunker liner called "Sand Dam Hi-Performance" and "Sand Dam MR". It has been proven that these liners will help in filter the water and give the sand something to hold onto rather than the slick clay bottom of the bunker floor.
 |
| Sand Dam Hi-Performance |
 |
| Sand Dam MR |
The Sand Dam bunker liners are constructed of non-biodegradable polyester and synthetic fibers. We will be using the Sand Dam Hi-Performance on our steepest slopes. This liner has been field tested by civil engineers to stabilize sand on slopes as severe as 60 degrees, which can be used on all of our bunkers since the majority of them have a slope less than 50 degrees. We will be using the Sand Dam MR on the floors of the bunker. This liner is made from the exact same components as the Hi-Performance. Even though this liner is only used on the floors of our bunkers, it is still effective for slopes only up to 50 degrees.
We will also be using a different type of bunker sand. This sand is called "G-Angle Bunker Sand". This angled sand retains a larger particle size distribution than most traditional bunker sand. This new sand will pack tighter and remain firmer which will keep golf balls from plugging in the face of the bunker and will help keep the bunker from washing after it rains.
We have recently finished reconstructing the lower right green side bunker on number 18. I believe everyone knows that this is a problem bunker for us. Below are the steps that we took to reconstruct this bunker.
We had to take the old sand and pea gravel out of the bunker. This bunker has been a problem for us for so long that the sand and pea gravel had become over saturated with water and contaminated. Below shows our first attempt at flushing the pipe.
When we started flushing the pipe, there were no issues with the drainage in the bunker, however the basin at the bottom of the bunker began filling up with water. So, we had to find out where the drain pipe led the water to. If you will look as if you were exiting the bunker, straight towards the pond on number 18 is where we located the drain pipe.
As soon as we located the drain pipe, we were certain we had found the problem. However, we were not that lucky.
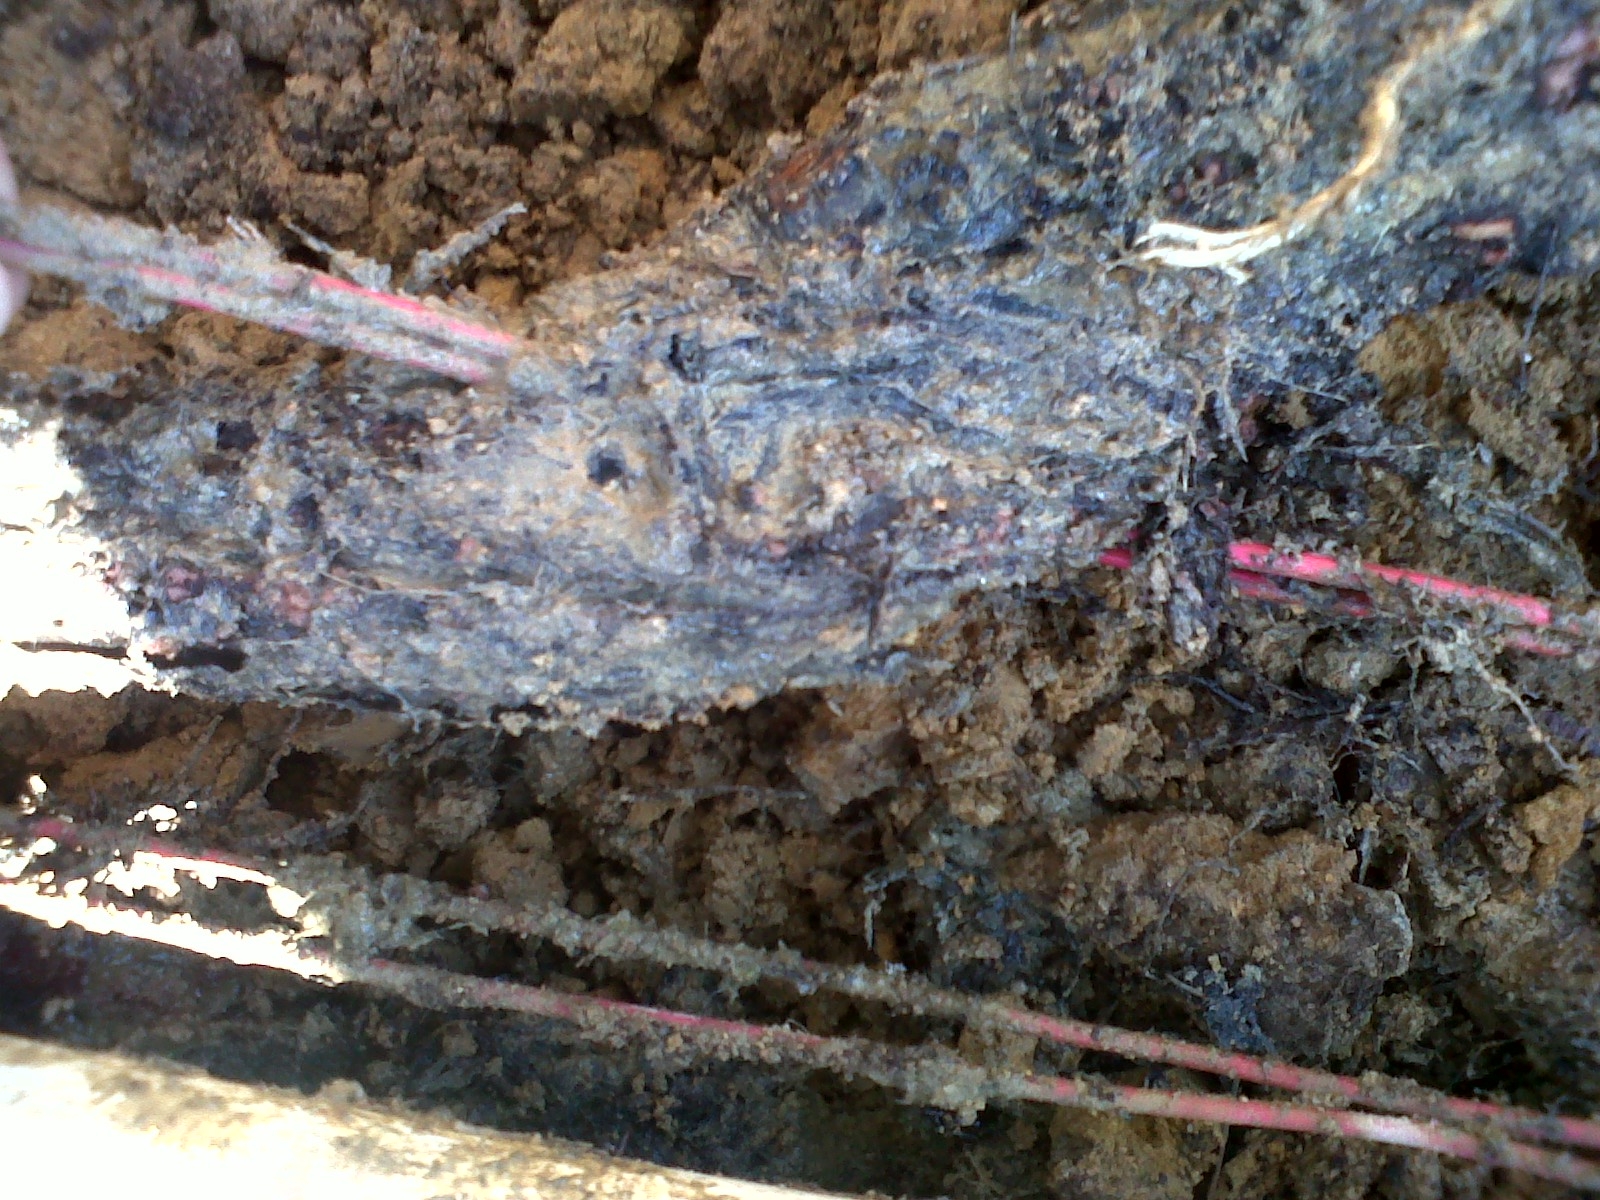
After we cut the root out we flushed the pipe once more. The catch basin filled up with water a second time. We then knew that the problem would be located around the tree line. So, while we were still at the location in which the pipe drained out at, we pushed a hose up through the pipe and felt resistance from something that was blocking the flow of water. We then pulled the hose out of the pipe and used the hose to determine how far up the pipe the blockage was located. We then began digging with the back hoe and eventually located the pipe.
The drainage pipe had a coupling which connected the two pieces of pipe together, which in turn caused the roots to find water and clogged the pipe. Upon cutting the pipe we found more roots inside.
After removing the second root, we fixed two couplings and fit a piece of pipe to connect to the existing pipe. Next, we mixed up concrete and poured it over the two new couplings that we fit over the pipe. We did this so the roots would not interfere with the drainage in the future. Finally, we solved the drainage problem.
Next, we tackled erosion control for this bunker.
We have a drain that sits above this bunker to keep water from sitting on top of the green.
The pipe from this drain goes underneath the same bunker and connects with the bunker drainage which runs out in the same location as the bunker drainage. While we were digging, we found a small leak coming from the coupling on the drain pipe. Over time, this leak caused some erosion on the bank of the bunker. So, we fixed this pipe by replacing the coupling, adding some epoxy and a small bag of concrete. The drain no longer leaks and erosion can now be avoided, as shown below.
Since fixing the erosion problem, we decided to make the drain bigger so that it would help in moving the water away from the green.
Before we laid the bunker liner, we wanted to ensure that the water would not get underneath the bunker liner so we folded the sod back before we laid the liner.
Once the sod was rolled back, we then placed two-inches of fresh pea gravel on the bottom of the drain lines. We then laid our drainage pipe on top of the pea gravel and then placed two more inches of pea gravel on top of the drain pipe.
As you see above, we cut the edges of the drain at a 45 degree angle to ensure that the water will flow into the drainage basins.
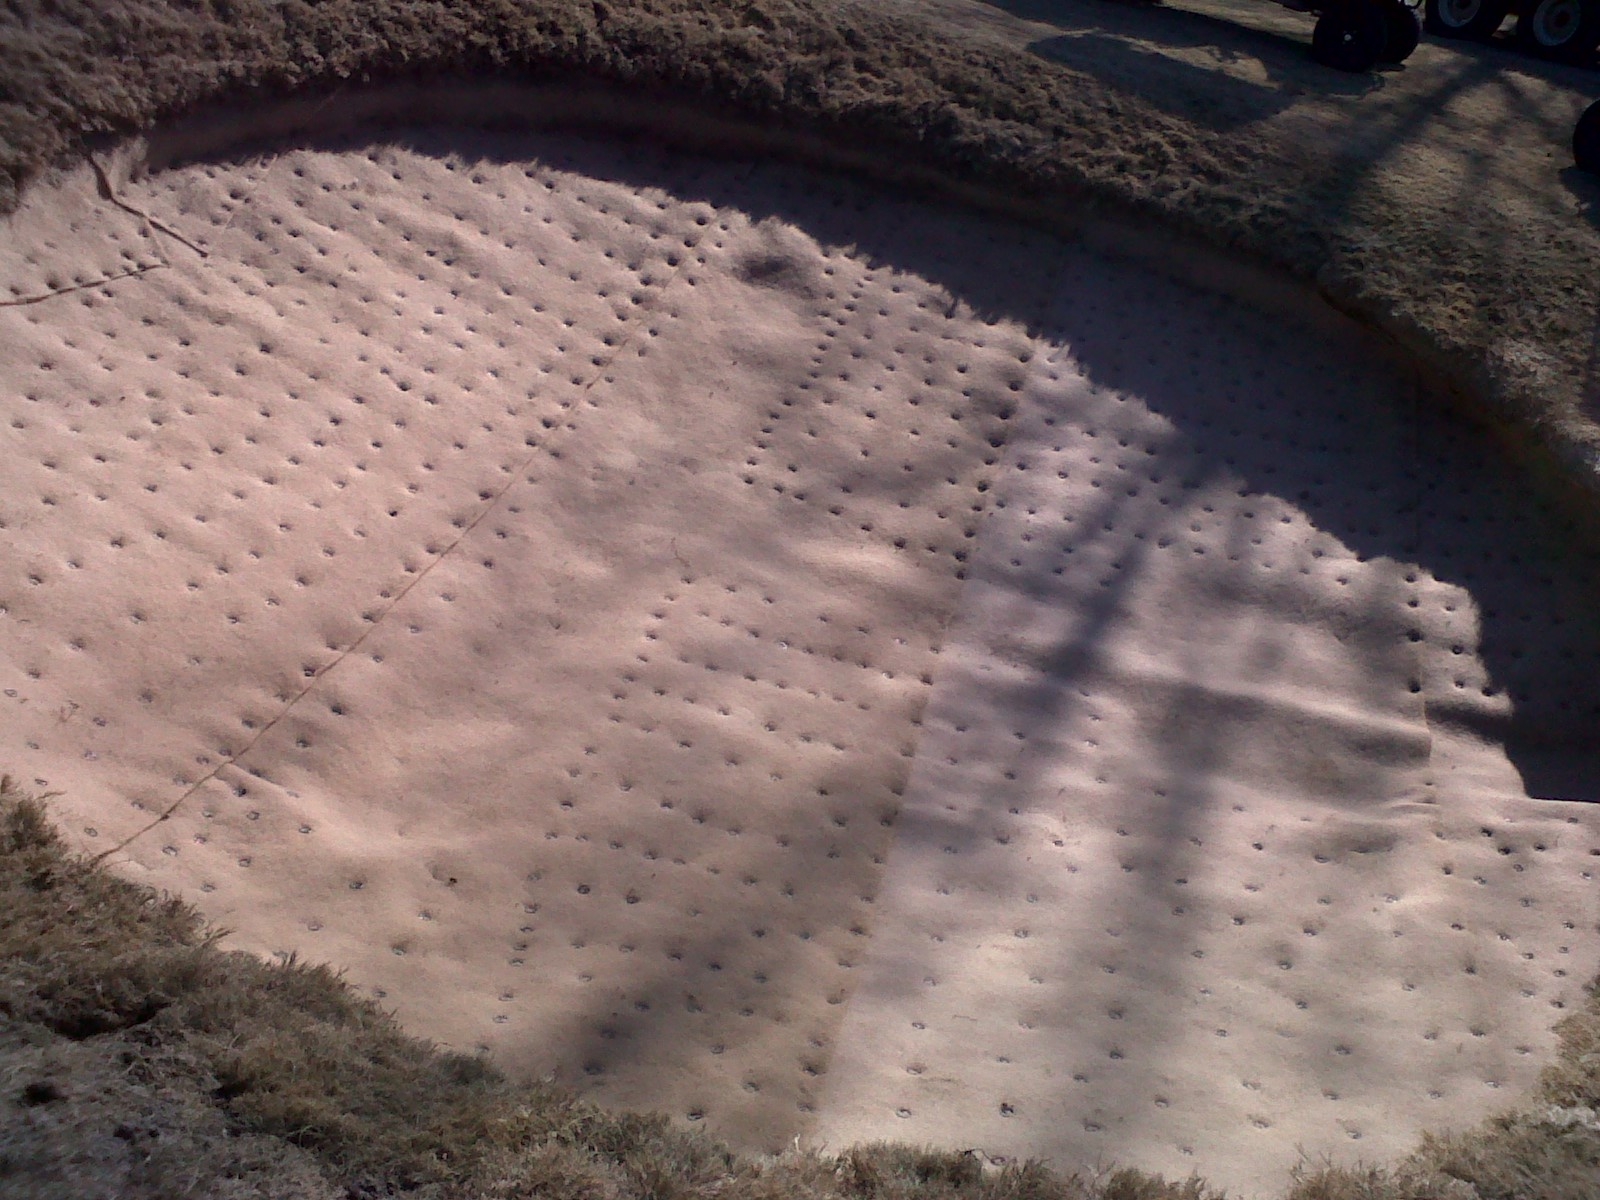
Once the pea gravel was placed and our sod rolled back, it was time to start laying the bunker liner.
As you can see by these two pictures, we have already placed all of the sod and liner in the bunker. The dark brown liner is the Hi-Performance liner, while the lighter shade of liner is the MR liner. When we went to overlap the liners, we overlapped them by four inches and in the opposite direction in which any water would run. We used 1,000 plus staples on this bunker. On the seams, the staples are no more than one inch apart. Everywhere else on the liner, the staples are three to four inches apart.
Now we are ready for the G-Angled bunker sand. As you can see in the picture below, we did not carry the pea gravel to make it flush with the bunker floor.
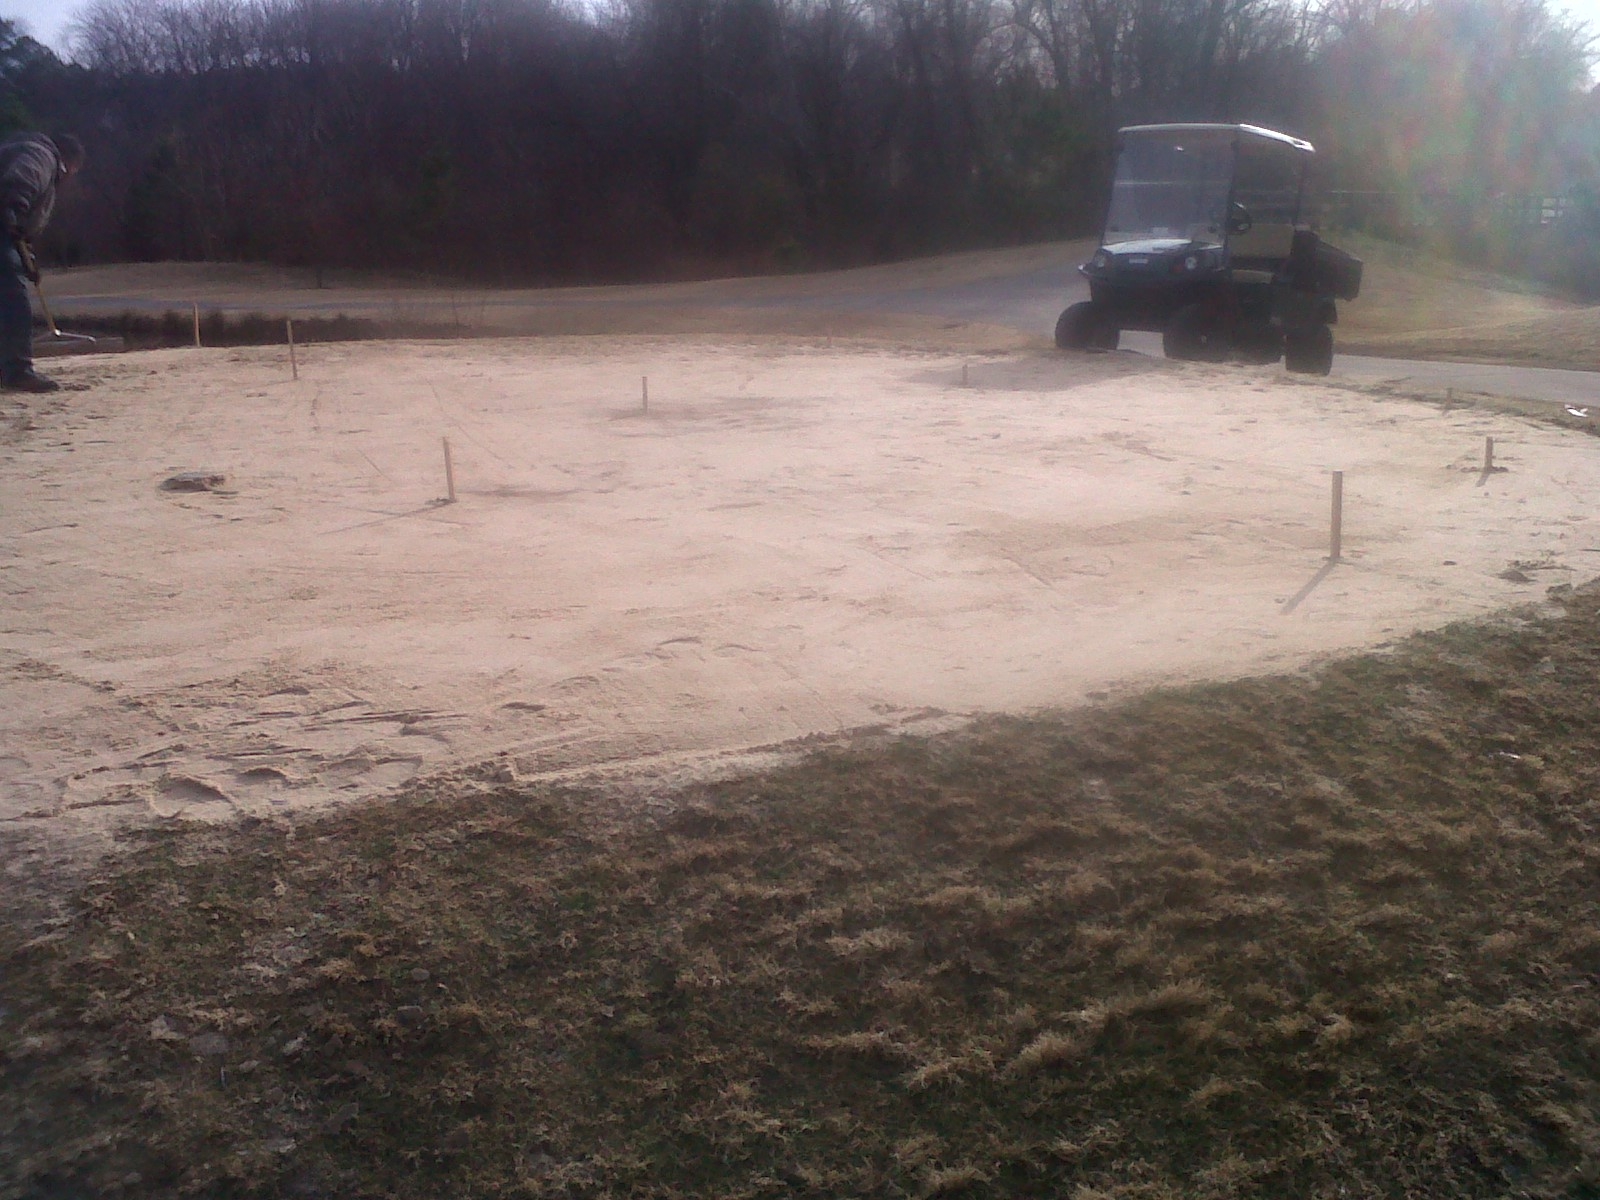
We will be placing five inches of sand throughout this bunker, except where these drainage basins are located. These areas will be receiving eight inches of sand so that it will facilitate quicker drainage. When we started placing the sand, we did so one trailer load at a time. Between placing each trailer load of sand, we would wet that sand and pack it down several times with a bunker machine in different directions. We did this to ensure that balls would not plug into the face of the bunker. We repeated this step numerous times until we achieved a five-inch sand basin and eight inches of sand on the drainage basins. Below are a few pictures of the above described procedure.
Juan Vasquez watering the bunker
The finished reconstruction of number 18 bunker
Stay tuned for the reconstruction of the practice bunker, which we will be working on this week.